You’re staring at your budget spreadsheet and your bedroom floor, trying to figure out where a full marching snare will fit and whether your wallet can handle it. The decision between a practice pad and a snare drum isn’t just about money. It’s about space, noise, neighbors, and whether you’ll actually get better at the skills that matter most for marching band.
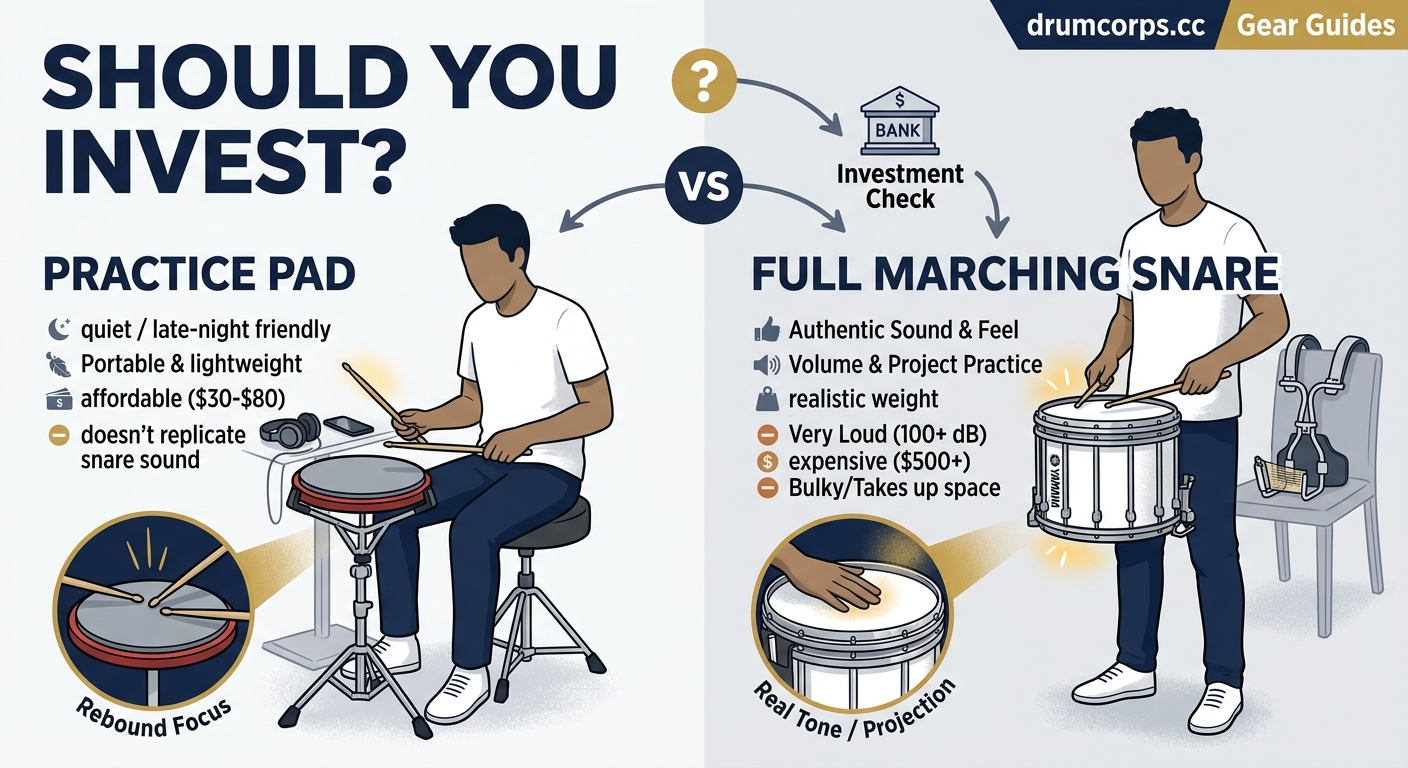
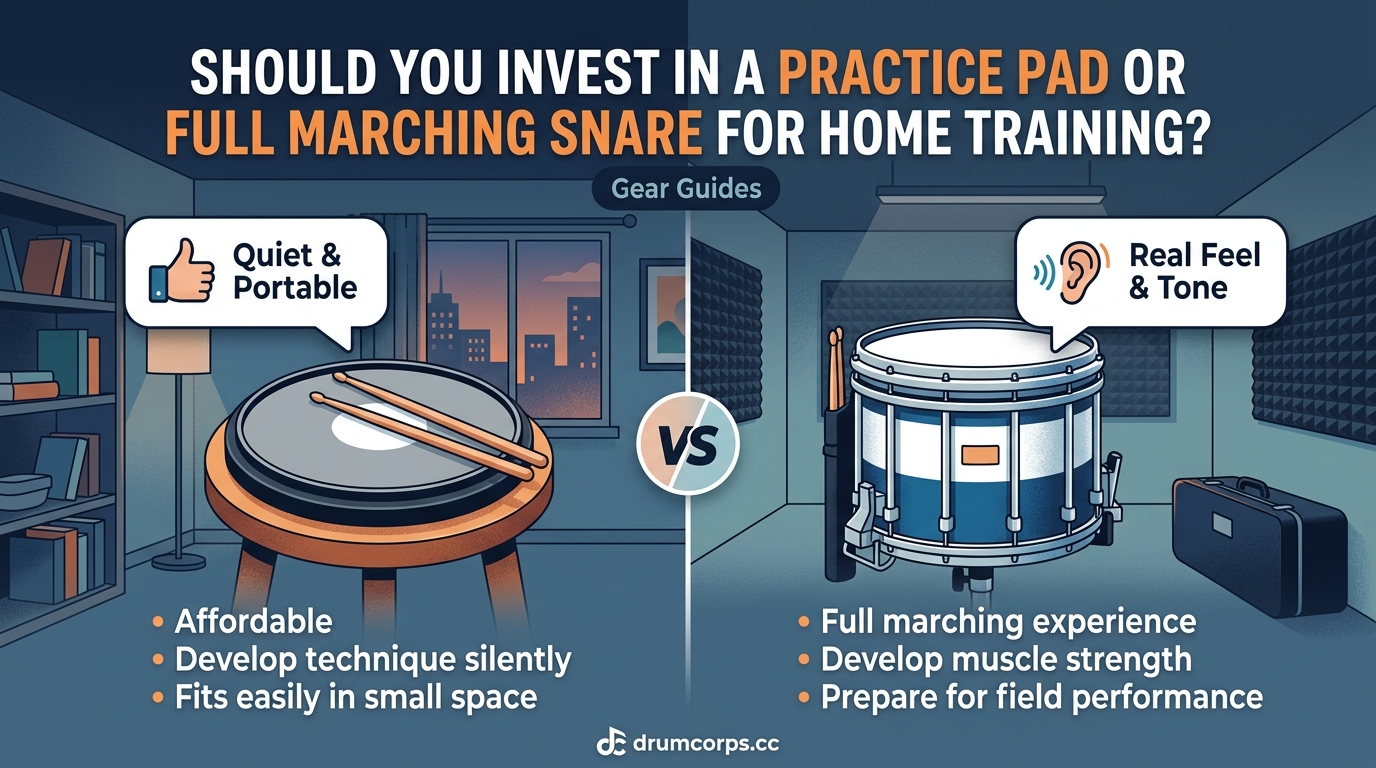
Practice pads cost $20 to $80, stay silent, and sharpen hand technique anywhere. Full marching snares run $200 to $600, demand space, and teach rim control plus realistic rebound. Most drummers benefit from starting with a pad, then adding a snare once fundamentals are solid and budget allows. Combining both tools gives you the most complete training setup.
What you actually get with a practice pad
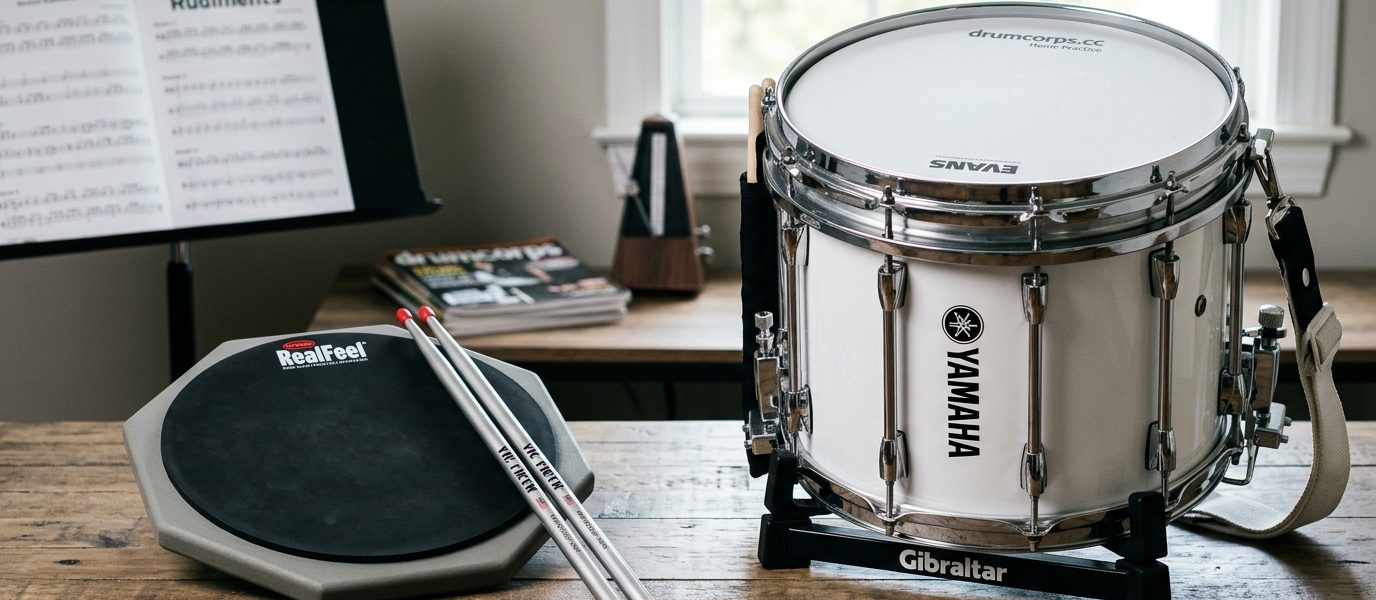
A practice pad is a flat rubber or gel surface mounted on a base. You hit it with sticks. That’s the whole design.
The best part? It’s nearly silent. Your roommate won’t hate you. Your parents won’t ask you to stop at 9 PM. You can practice rudiments during a Zoom call if you really want to.
Pads are portable. Toss one in a backpack. Practice in your dorm, at a friend’s house, or backstage before a show. You don’t need a stand, though a snare stand helps with posture. Most drummers just set the pad on a desk or their lap.
The rebound is predictable. A good pad gives consistent bounce, which helps you focus on stick height, finger control, and clean doubles. You’re training muscle memory without distractions.
But pads don’t teach you everything. You won’t learn rim shots, crossovers around the hoop, or how to adjust for a drum’s tension. The feel is different. The sound feedback is minimal. You’re working in a controlled environment, which is great for fundamentals but limiting for performance skills.
Why a full marching snare changes your training
A marching snare gives you the real thing. The rim is there. The hoop matters. The head tension affects every stroke. You’re training in the environment you’ll perform in.
Rim control is huge. Marching music is full of rim clicks, crossovers, and stick placements that require spatial awareness. A practice pad can’t replicate that. You need the physical drum to build those instincts.
The sound is loud. Really loud. That’s a problem if you live in an apartment or share a house. Some drummers muffle the head with a towel or buy a mesh head, but then you lose the realistic rebound and tone that made you buy the drum in the first place.
A snare takes up space. You need a stand, room to move around it, and a spot where the noise won’t drive people crazy. If you’re in a small bedroom or dorm, that’s a real constraint.
Cost is the other factor. A decent marching snare starts around $200. High end models hit $600 or more. Add a stand, sticks, and maybe a case, and you’re looking at a serious investment. For a beginner, that’s a lot of money for a tool you might not use every day.
Breaking down the cost difference
Here’s what you’ll actually spend on each option.
| Item | Practice Pad | Full Marching Snare |
|---|---|---|
| Entry-level option | $20 to $40 | $200 to $300 |
| Mid-range quality | $40 to $80 | $300 to $450 |
| Professional grade | $80 to $120 | $450 to $600+ |
| Stand (optional for pad, required for snare) | $30 to $60 | $60 to $150 |
| Case or bag | $10 to $20 | $50 to $100 |
| Maintenance costs | Nearly zero | Heads, tuning tools, occasional repairs |
A practice pad is a one-time purchase. You might replace it after years of heavy use, but most last indefinitely. A snare requires head replacements, tuning adjustments, and occasional hardware fixes. Budget for ongoing costs.
If you’re just starting out, a $40 pad and a $50 stand will get you 90% of the technique work you need. Save the snare purchase for when you’re sure you’ll stick with marching band and have the budget to spare.
Space and noise constraints you can’t ignore
Your living situation matters more than you think.
Practice pad scenarios:
– Dorm room with a roommate
– Apartment with thin walls
– Bedroom shared with a sibling
– Late-night practice sessions
– Traveling for competitions or camps
Full snare scenarios:
– Detached house with understanding family
– Basement or garage practice space
– Rehearsal room access at school
– Daytime-only practice windows
– Neighbors who are far away or tolerant
If you live in close quarters, a practice pad is the only realistic choice. You can practice at midnight without waking anyone. You can work on how to build a perfect 30-minute individual practice routine without checking the clock.
A snare demands space and tolerance. If your family or neighbors complain after the first session, you’ve wasted your money. Be honest about your environment before you buy.
Skills you develop with each tool
Different tools build different abilities. Here’s what each one teaches best.
Practice pad strengths:
– Stick control and finger technique
– Rudiment speed and accuracy
– Endurance for long practice sessions
– Consistent rebound and timing
– Muscle memory for hand patterns
Marching snare strengths:
– Rim awareness and crossover technique
– Dynamic control with real acoustics
– Spatial positioning around the drum
– Tension adjustment and tuning ear
– Performance-ready articulation
A pad makes you technically clean. A snare makes you performance-ready. The ideal path is to master fundamentals on a pad, then transfer those skills to a snare.
Many instructors recommend starting with a pad for the first six months to a year. Build your chops. Get your doubles clean. Learn your rudiments cold. Then add a snare to refine the details that matter in a live setting.
How to choose based on your current skill level
Your experience level should guide your decision.
1. Complete beginner (never played snare before)
Start with a practice pad. You need to build basic stick control, learn how to hold the sticks properly, and develop a sense of timing. A snare will overwhelm you with variables. A pad keeps things simple.
Get a mid-range pad with good rebound. Avoid the cheapest options, which feel dead and won’t teach you proper bounce. Spend $40 to $60 and pair it with a stand so you can practice with correct posture.
2. Intermediate player (played for a season or two)
You probably already own a practice pad. Now’s the time to consider adding a snare if your budget and space allow it. You’ve got the fundamentals down. You need to work on rim control, crossovers, and the spatial skills that only come from a real drum.
If you can’t afford a snare yet, keep working on the pad. Focus on speed, endurance, and cleaning up any sloppy technique. A snare won’t fix bad habits. It’ll just amplify them.
3. Advanced player (auditioning for corps or top-tier groups)
You need both. A pad for daily maintenance and warm-ups. A snare for performance prep and detailed work. Many advanced players practice on a pad 70% of the time and a snare 30% of the time. The pad keeps your hands sharp without the fatigue and noise of a full drum.
Combining both tools for maximum progress
Most serious marching drummers end up with both. Here’s how to use them together.
Use the pad for:
– Morning warm-ups before school
– Late-night practice sessions
– Traveling to camps or auditions
– Focused rudiment work
– Building speed and endurance
Use the snare for:
– Learning new music with proper articulation
– Practicing rim shots and crossovers
– Recording yourself for feedback
– Simulating performance conditions
– Fine-tuning dynamics and tone quality
This approach gives you the best of both worlds. You’re not choosing one over the other. You’re building a complete training setup that adapts to your schedule, space, and goals.
If you’re on a tight budget, start with the pad. Add the snare when you can afford it. If you already have access to a snare at school or rehearsal, you might not need to buy one for home. Use the school drum for performance prep and your pad for daily maintenance.
Common mistakes drummers make with each tool
Avoid these pitfalls.
| Mistake | Practice Pad | Marching Snare |
|---|---|---|
| Playing too soft | Develops weak strokes that won’t translate to performance | Builds bad habits that won’t carry volume in an ensemble |
| Ignoring stick height | Inconsistent rebound and sloppy technique | Uneven dynamics and poor articulation |
| Skipping warm-ups | Increases injury risk and limits progress | Same risk, plus potential for equipment damage |
| Practicing only fast | Neglects control and clean execution | Amplifies mistakes and builds tension |
| Never recording yourself | Miss obvious flaws in technique | Same problem, plus issues with spatial awareness |
The biggest mistake is thinking one tool will solve everything. A pad won’t teach you rim control. A snare won’t magically fix your doubles if you haven’t built the fundamentals. Use each tool for what it does best.
“I tell every new snare player to spend three months on a pad before they even think about a drum. You need clean hands first. Everything else is just details.” — Veteran marching percussion instructor
What to look for when buying either option
If you’re buying a practice pad, prioritize these features:
- Realistic rebound that mimics a drum head
- Durable surface that won’t dent or crack
- Stable base that doesn’t slide during play
- Portable size if you plan to travel
- Reputable brand with good reviews
Popular options include Vic Firth, Evans, and Ahead. Avoid generic pads from big-box stores. They feel dead and teach bad habits.
If you’re buying a marching snare, consider:
- Shell material (aluminum is lighter, wood sounds warmer)
- Head type (Kevlar for durability, Mylar for tone)
- Throw-off quality (cheap mechanisms fail fast)
- Weight (you’ll carry this in a harness for hours)
- Brand reputation (Pearl, Yamaha, Dynasty, and others have strong track records)
Buy used if you’re on a budget. Check local music stores, Facebook Marketplace, or marching band forums. Many players sell their drums when they age out of corps or graduate. You can find solid gear for half the new price.
Don’t forget best drumsticks for marching snare matter as much as the drum itself. Cheap sticks break fast and feel inconsistent. Invest in quality sticks that match your playing style.
When a practice pad is your best choice
Choose a practice pad if:
- You’re just starting out and need to build fundamentals
- You live in an apartment, dorm, or shared space
- Your budget is under $100
- You travel frequently for school or work
- You need to practice late at night or early morning
- You want a tool that requires zero maintenance
A pad is the safe, practical choice for most drummers. It removes barriers. You can practice anywhere, anytime, without worrying about noise or space. That consistency leads to faster progress than owning a snare you can only use twice a week.
When a full marching snare is worth the investment
Choose a marching snare if:
- You’ve already mastered basic technique on a pad
- You have dedicated practice space with noise tolerance
- Your budget allows for $300+ upfront and ongoing maintenance
- You’re preparing for auditions or competitive performance
- You need to work on rim control and spatial awareness
- You have access to instruction on proper tuning and care
A snare is a serious commitment. It’s not just the money. It’s the space, the noise, the maintenance, and the learning curve for tuning and care. Make sure you’re ready for all of that before you buy.
If you’re serious about marching percussion and plan to audition for a corps or play in college, a snare is a necessary investment eventually. Just don’t rush into it before you’ve built the fundamentals that make it worthwhile.
Building your practice routine around your equipment
Your routine should match your tools.
Practice pad routine (30 minutes):
- Warm up with singles, doubles, and paradiddles at slow tempo (5 minutes)
- Work on one or two specific rudiments with a metronome (10 minutes)
- Run through challenging sections of your music at half speed (10 minutes)
- Cool down with slow, controlled strokes focusing on relaxation (5 minutes)
This structure keeps you focused and prevents burnout. The pad is perfect for this kind of detailed, repetitive work.
Marching snare routine (30 minutes):
- Warm up with basic strokes, focusing on rim awareness (5 minutes)
- Practice rim shots, crossovers, and spatial patterns (10 minutes)
- Run through full music at performance tempo (10 minutes)
- Record yourself and review for articulation and dynamics (5 minutes)
The snare routine emphasizes performance skills and real-world application. You’re training for the field, not just the practice room.
Combining both tools means you can practice fundamentals on the pad daily and use the snare two or three times a week for performance prep. That balance keeps your hands sharp without overworking your ears or annoying your neighbors.
Making the decision that fits your situation
There’s no universal right answer. Your choice depends on budget, space, skill level, and goals.
If you’re a beginner with limited money and space, buy a practice pad. It’s the smart, practical choice that will serve you for years. You can always add a snare later when your situation changes.
If you’re an intermediate player with room to practice and a bigger budget, consider adding a snare to your setup. You’ll develop skills that a pad can’t teach, and you’ll be better prepared for auditions and performances.
If you’re an advanced player, you probably already know you need both. The question isn’t which one to buy. It’s how to balance your practice time between them.
Your next step toward better drumming
The practice pad vs snare drum debate isn’t really a competition. Both tools have a place in your training. The key is understanding what each one does best and using them strategically.
Start where you are. If you’re new, grab a pad and start building your hands. If you’re ready for the next level, add a snare and work on the details that matter in performance. And if you’re serious about marching percussion, invest in both and use them to complement each other.
Your progress isn’t determined by the gear you own. It’s determined by the consistency and focus you bring to practice. Whether you’re working on a $40 pad or a $600 snare, the work you put in is what counts. Pick the tool that fits your life right now, and start practicing.