
You’ve recorded yourself speaking and realized half your words blur together. Or maybe someone asked you to repeat yourself three times in one conversation. Poor articulation doesn’t mean you’re doing something wrong with your voice. It means you haven’t trained the muscles that shape your words yet.
The good news? Articulation is a skill, not a talent. You can build it the same way a brass player sharpens their attack or a drummer cleans up their strokes. The techniques that help marching musicians project across a football field work just as well for anyone who needs to be heard and understood.
Improving articulation and clarity requires targeted exercises for your tongue, lips, and jaw, combined with intentional breath support and pacing. Focus on consonant precision, vowel shaping, and recording yourself regularly to track progress. These techniques preserve your natural voice character while making every word land with confidence and impact.
Understanding what articulation actually means
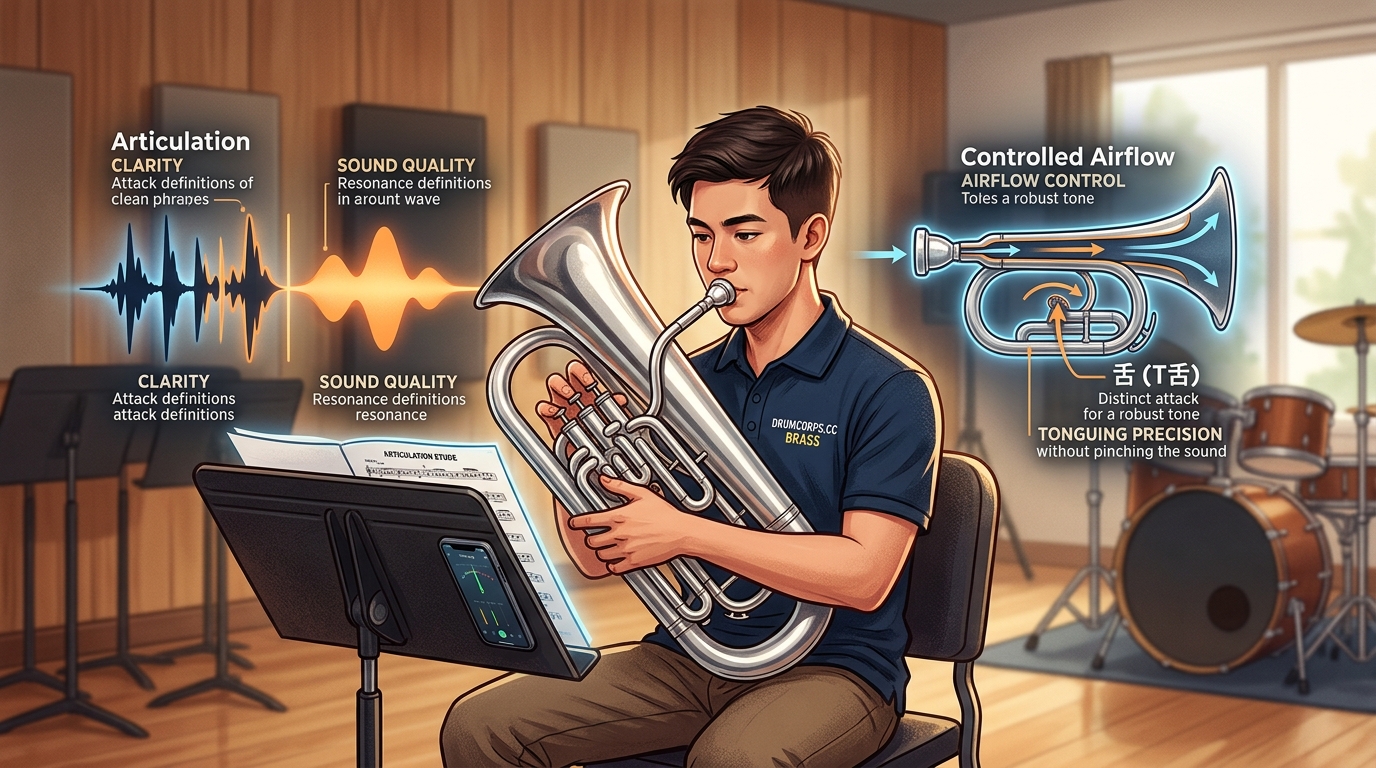
Articulation is how clearly you produce individual sounds. It’s not about volume or pitch. It’s about the precision of your tongue, lips, teeth, and palate working together to shape air into recognizable phonemes.
When articulation suffers, words smear together. Consonants disappear. Listeners strain to follow you, and your message loses power no matter how good your content is.
Clarity goes one step further. It combines articulation with pacing, breath control, and vocal resonance. You can articulate perfectly but still sound muddy if you rush, mumble, or let your voice drop at the end of sentences.
Think about a snare drummer who hits every note but buries the sound by not opening the stroke. The technique is there, but the result doesn’t land. The same thing happens when you form words correctly but don’t give them space to breathe.
Why most people struggle with articulation
Your mouth muscles are lazy by default. Daily conversation doesn’t demand much from them. You get away with sloppy consonants because context fills in the gaps for people who already know you.
But put yourself in front of a microphone, on a stage, or in a professional setting, and those gaps become canyons. The listener doesn’t have your facial expressions or shared history to decode what you’re saying.
Another issue is tension. When people try to speak more clearly, they often clench their jaw or tighten their throat. That makes things worse. Tension restricts movement and dulls resonance.
Finally, many speakers have never isolated the individual muscle groups involved in speech. They’ve never practiced moving their tongue independently from their jaw, or shaping vowels without changing their breath flow.
The foundation you need before anything else
Before you work on articulation drills, you need to establish proper breath support. Weak or shallow breathing forces you to rush through phrases, which kills clarity.
Start by breathing low into your belly, not high into your chest. Place one hand on your stomach and one on your chest. When you inhale, only the lower hand should move. This is the same technique covered in 5 essential breathing exercises every brass player should master, and it works just as well for speakers.
Practice this pattern: inhale for four counts, hold for four, exhale for six. Do this for two minutes before any speaking session. It calms your nervous system and gives you a stable air supply to work with.
Next, check your posture. Stand or sit with your spine long, shoulders relaxed, and chin level. Slouching compresses your diaphragm and restricts airflow. Good posture is free resonance.
Five exercises that build articulation strength
These drills target the specific muscles that shape your words. Do them daily for two weeks and you’ll notice a difference.
1. Tongue twisters at half speed
Pick a classic tongue twister like “Red leather, yellow leather” or “Unique New York.” Say it as slowly as possible while exaggerating every consonant. Your tongue should feel like it’s doing a workout.
Don’t speed up until you can do ten reps at half speed without a single slurred sound. Speed is the enemy of clarity until your muscle memory is locked in.
2. Consonant isolation
Say these sounds in a row, holding each for three seconds: T, D, K, G, P, B. Feel where your tongue and lips make contact. Notice the tiny explosions of air.
Now say them in random order while keeping the same precision. This trains your articulators to move independently and respond instantly.
3. Lip trills with text
Do a lip trill (blow air through your lips so they vibrate, like a motorboat sound) for five seconds to warm up. Then speak a full sentence while maintaining that loose, relaxed lip position.
This prevents tension from creeping into your articulation. Your lips should feel flexible, not rigid.
4. The cork technique
Place a wine cork or pen cap between your teeth (gently, don’t bite down hard). Read a paragraph out loud with the cork in place. This forces your tongue and lips to work harder because your jaw is restricted.
Remove the cork and read the same paragraph again. Your articulation will feel sharper and more effortless.
5. Record and compare
Record yourself reading a 30-second passage. Listen back and mark every word that sounds unclear. Re-record the same passage, focusing only on those problem words. Repeat until every word lands.
This is how you build self-awareness. You can’t fix what you don’t hear.
How to shape vowels without losing your natural tone
Vowels carry your voice’s character. Mess with them too much and you’ll sound artificial or affected. But vowels that are too relaxed turn into mush.
The trick is to think about vowel height and space. For an “ah” sound, drop your jaw and open the back of your throat. For an “ee” sound, smile slightly and keep your tongue high.
Practice this scale: ah, eh, ee, oh, oo. Move smoothly between them without changing your breath or volume. Your mouth shape should shift, but your core tone should stay consistent.
Avoid the trap of over-enunciating vowels. You don’t need to turn “cat” into “cayat.” Just give each vowel enough space to resonate fully before you move to the next sound.
The role of pacing in perceived clarity
You can articulate perfectly and still sound unclear if you’re speaking too fast. Your brain processes words faster than your mouth can form them, so you skip sounds without realizing it.
Try this test: record yourself speaking at your normal pace. Then record the same content at 75% speed. Listen to both. The slower version almost always sounds clearer, even if it feels painfully slow while you’re doing it.
Most people think they sound slow when they’re actually speaking at a normal, intelligible pace. Trust the recording, not your internal perception.
Insert pauses between phrases. Pauses give your listener time to process and give you time to breathe and reset your articulation. A well-placed pause is more powerful than ten extra words.
Common mistakes that sabotage your progress
Here’s a table of the most common articulation errors and how to fix them.
| Mistake | Why it happens | Fix |
|---|---|---|
| Dropping final consonants | Lazy tongue, weak breath support | Exaggerate the last sound of every word for one week |
| Mumbling vowels | Jaw too tight, mouth not open enough | Practice vowel scales with exaggerated mouth shapes |
| Speaking through clenched teeth | Tension, nervousness | Do jaw release exercises before speaking |
| Rushing through phrases | Poor breath control, anxiety | Mark natural pause points in your script |
| Inconsistent volume | Weak diaphragm engagement | Record yourself and listen for volume dips |
One mistake people make is trying to fix everything at once. Pick one issue and work on it for a full week before adding another focus area. Trying to monitor five things simultaneously just adds mental load and creates more tension.
Building articulation into your daily routine
You don’t need hour-long practice sessions. You need consistent, focused repetition. If you can carve out ten minutes a day, you’ll see results.
Here’s a simple daily sequence you can do in the car, during a walk, or while making coffee:
- Two minutes of diaphragmatic breathing to warm up your system.
- Three minutes of tongue twisters at half speed, focusing on one or two specific sounds.
- Three minutes reading a paragraph out loud, recording and listening back.
- Two minutes of vowel shaping exercises to keep your tone natural.
That’s it. Ten minutes. But do it every single day for three weeks. Inconsistent practice won’t build the muscle memory you need.
If you’re already working on other performance skills, you can layer this in. The same discipline that goes into how to build a perfect 30-minute individual practice routine applies here. Structure beats motivation every time.
How to maintain clarity under pressure
Articulation falls apart when you’re nervous, tired, or distracted. Your brain prioritizes survival over precision, and your mouth reverts to its laziest habits.
The fix is to over-prepare your muscle memory. If you can articulate clearly at half speed, you’ll still be intelligible at full speed under stress. If you only practice at performance pace, you have no buffer when pressure hits.
Before any high-stakes speaking situation, do a two-minute physical warm-up. Roll your shoulders, shake out your hands, do some lip trills. Physical relaxation directly impacts vocal clarity.
Then do a one-minute articulation check. Say a short tongue twister or read a paragraph out loud. This primes your articulators and reminds your brain what clear speech feels like.
During the actual performance or conversation, focus on one anchor: your breath. If you maintain steady breath support, everything else will follow. Lose your breath and your articulation will collapse.
When to focus on projection versus precision
There’s a balance between being heard and being understood. Projection is about volume and resonance. Precision is about articulation. You need both, but they require different techniques.
If you’re speaking to a large room or recording without a microphone close to your mouth, projection matters more. Use your diaphragm to push sound forward, open your throat for resonance, and aim your voice toward the back of the space.
If you’re speaking into a microphone or in a small setting, precision matters more. The mic will pick up every sound, so focus on clean consonants and well-shaped vowels. You don’t need to push for volume.
Many performers learn this balance through experience. A brass player adjusts their articulation based on whether they’re playing in a concert hall or marching on a field. The same principle applies to speaking.
“Clarity isn’t about being loud. It’s about making every sound count. If your articulation is sharp, people will hear you even when you’re speaking softly.”
Tracking your progress over time
Improvement in articulation is gradual. You won’t wake up one day with perfect diction. But you will notice small wins if you’re paying attention.
Keep a simple log. Once a week, record yourself reading the same paragraph. Save each recording with the date. After a month, listen to all four recordings in order.
You’ll hear the difference. Words that used to blur together will sound crisp. Consonants that disappeared will land. Your pacing will feel more controlled.
This feedback loop is critical. It shows you that the work is paying off, which keeps you motivated to continue. It also highlights specific areas that still need attention.
If you’re not hearing improvement after three weeks of daily practice, check two things: Are you actually doing the exercises with full focus, or just going through the motions? And are you recording yourself to catch mistakes you don’t feel in the moment?
Applying these techniques in real-world situations
Practice is useless if it doesn’t transfer to actual speaking. The goal is to make clear articulation your default, not something you have to think about.
Start by applying these techniques in low-stakes conversations. Focus on your articulation when you’re ordering coffee, talking to a friend, or leaving a voicemail. Make it normal, not something you only turn on for presentations.
Then gradually increase the difficulty. Use your articulation skills in meetings, on video calls, during interviews. Notice when you slip back into old habits and course-correct in the moment.
The more you practice in varied contexts, the more automatic it becomes. Eventually, you won’t have to think about tongue placement or breath support. Your mouth will just do it.
Your voice is already good enough
You don’t need a different voice. You need to train the one you have. Articulation work isn’t about erasing your accent, changing your pitch, or sounding like someone else.
It’s about making sure your words land the way you intend them to. It’s about being understood on the first try, not the third. It’s about having confidence that your message will come across clearly, no matter the setting.
The techniques here work because they’re based on the same principles that help musicians perform with precision under pressure. They’re practical, repeatable, and they respect your natural voice.
Start with one exercise today. Record yourself. Listen back. Then do it again tomorrow. That’s how you build clarity that lasts.